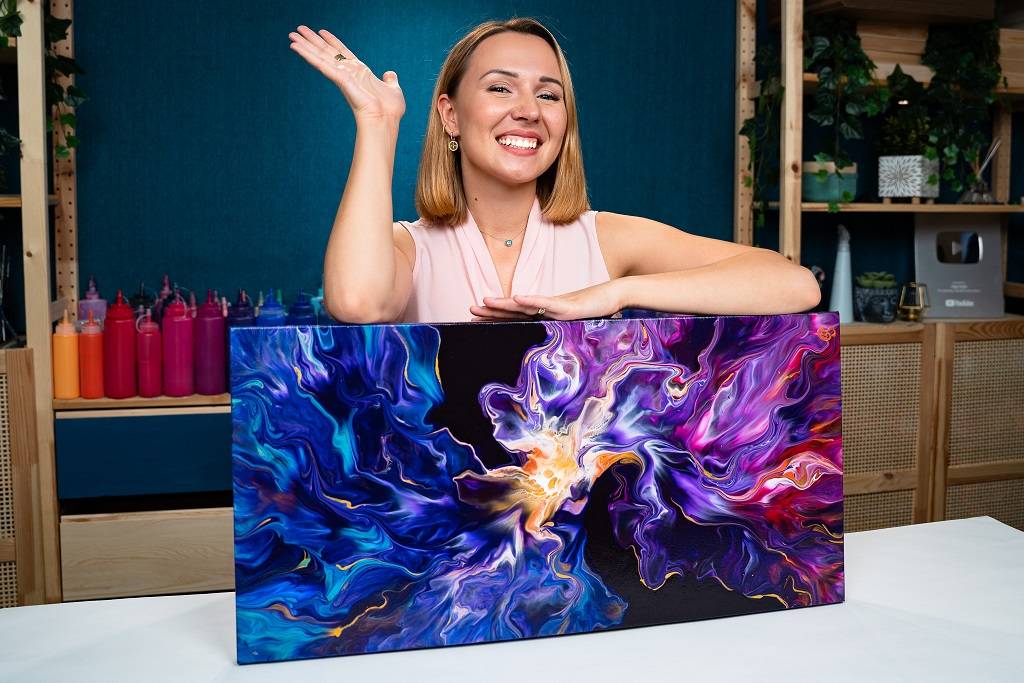
Premixed Pouring Paint is acrylic paint that is already mixed with pouring medium and is sold in a fluid state ready to be poured on the canvas (no extra mixing required). This type of paint is normally works well only for certain techniques and is significantly more expensive compared to buying regular paint and mixing it yourself. Therefore I think it's a option is only good for those looking to give pouring a try without needing to mix your own colors.
Pour Painting Supplies
Are you just diving into fluid art and wondering which pour painting supplies you need to be successful with this fun art? Or maybe you have been working with fluid techniques for a while and now looking to try new awesome supplies and ideas? In this article, I explain everything step-by-step and will also help you make environmentally friendly choices.
And in case you are new to my website, my name is Olga Soby. I’m a fluid artist, and on this website and my YouTube channel, I provide aspiring artists with tools and knowledge they can use to master acrylic pouring and make beautiful art. And I’m thrilled that you are here 😀
So let’s talk about pour painting supplies! Here is what you'll need to get started:
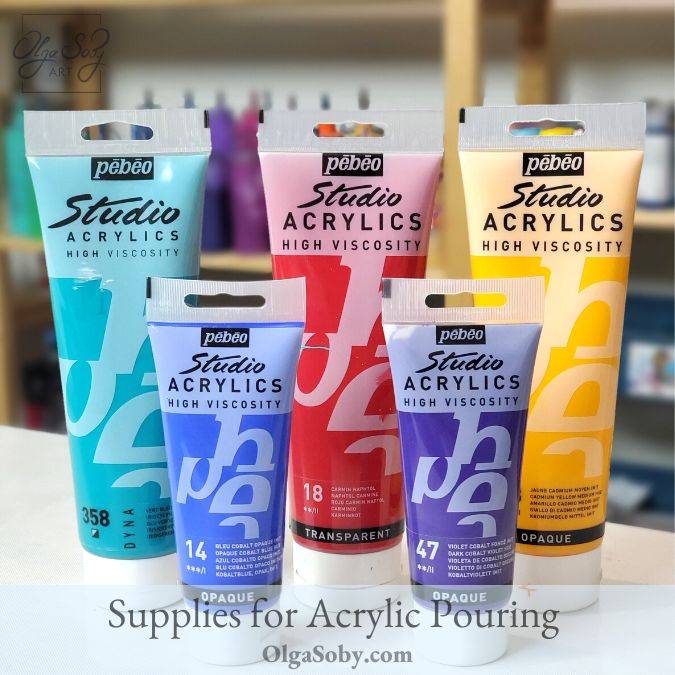
1. Acrylic Paint
What about house paint?
I do not use house paint for creating my paintings, therefore can't provide any recommendations.
2. Pouring Medium
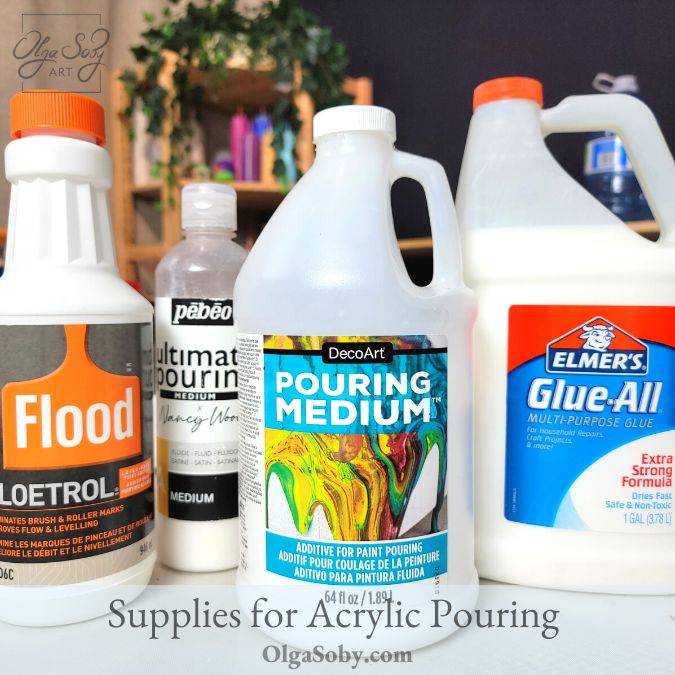
Pouring medium is a substance that we add to acrylic paint to reduce its viscosity and improve the flow, thus making it suitable for acrylic pouring techniques.
First, there are commercial pouring mediums designed by paint brands specifically for pouring techniques. There are so many available right now, I like one by Pebeo.
Next, there are pouring medium alternatives such as Floetrol and Glue-all (or PVA Glue). Those are not designed for acrylic pour painting, but they have been used by the pouring community as a cheaper non-archival alternative to commercial mediums.
Last but not least is Water. Yes, you can totally use just water to make your paint more fluid. Just don’t add too much, as it can affect the binding properties of the paint and increase cracking.
Which one to use? There is definitely no right or wrong option here. And the choice depends on the technique and effect that you are trying to achieve. Think of it as different recipes for cake – ingredients depend on the type of cake that you’re going to make 🙂
Keep in mind that you can totally combine different mediums in one recipe.
Check out the videos below to get an idea about techniques that I do with different pouring mediums:
Paint with WATER Only
Paint with Pouring Medium and Water
Paint with Floetrol and Water
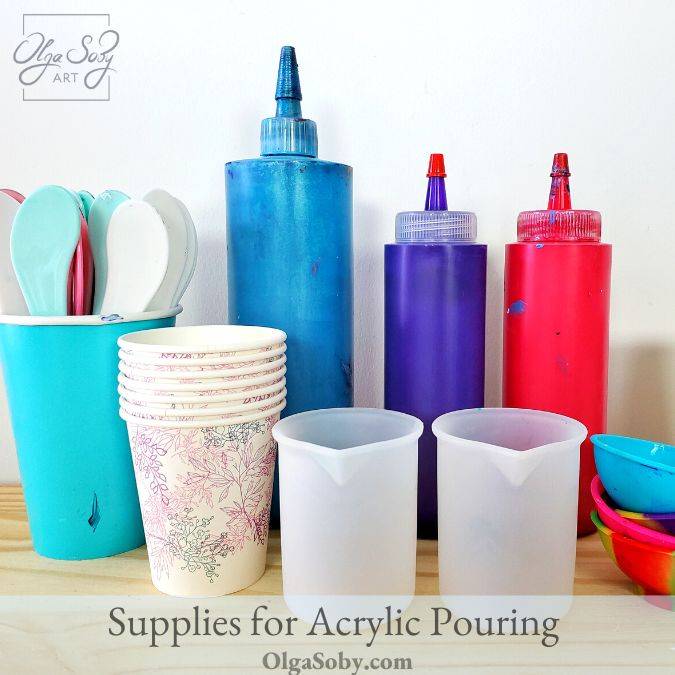
3. Pour Painting Supplies for Mixing
4. Canvas or Panel
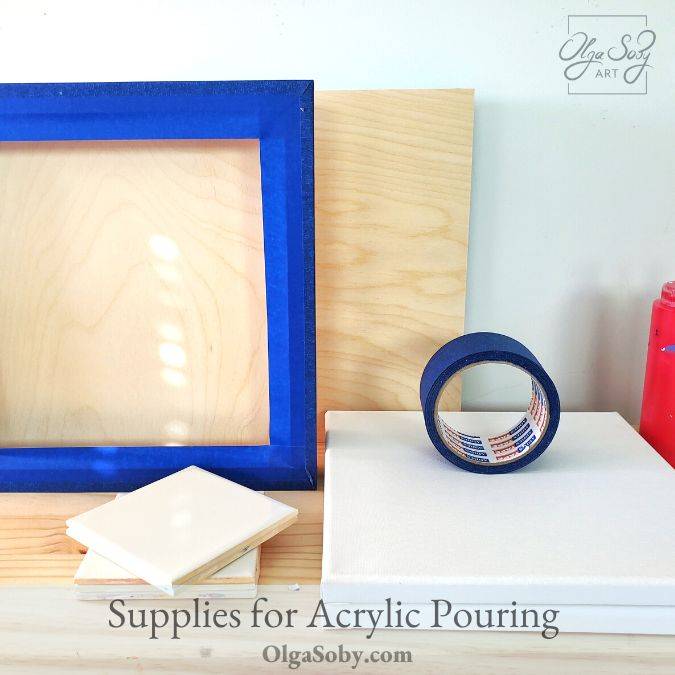
Paints are mixed! After that, we need something to pour on 😀 What can you pour on?
The most popular surfaces for pouring are canvases and wooden panels. If you work on canvas, it is essential to make sure that it’s not saggy. Otherwise, fluid paint is going to puddle up in the center while drying.
Personally, I prefer to work on cradled wood panels as they’re completely flat and sturdy. In addition, the dry painting can easily be covered with resin without it puddling in the center. But if you also use wood, make sure to seal and prime it with gesso first.
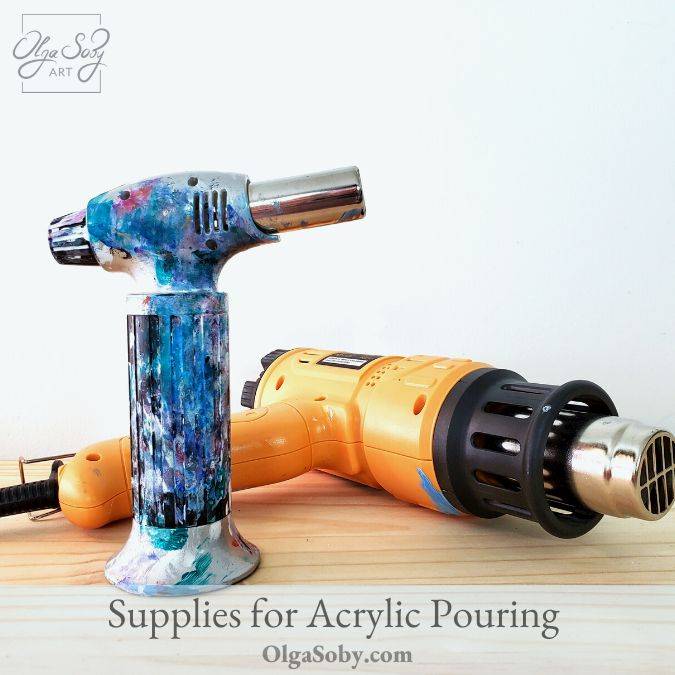
5. Torch or Heat Gun
6. PPE
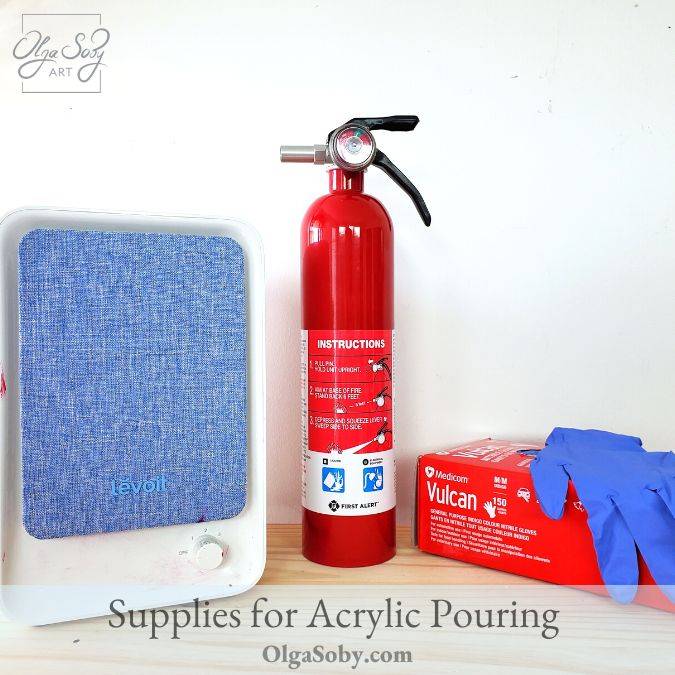
Safety is important. Therefore, read the MSDS of ALL the paints, mediums, and tools you are using. Follow all the safety recommendations, and use proper Personal Protective Equipment. And here are some general must-haves from me:
Fire Extinguisher – if you use a torch or heat gun, I highly recommend having one accessible in your working area.
Nitrile Gloves – it’s sure fun to have paint all over your hands. However, acrylic paints and mediums are not the most “innocent” materials out there. That is to say, it’s recommended to avoid direct skin contact. I like reusing my gloves as possible to cut down the waste.
Good Ventilation and Air Purifier – make sure that you have good ventilation in your working environment. Especially if you are pouring a lot in a single session and heating your pours with the torch.
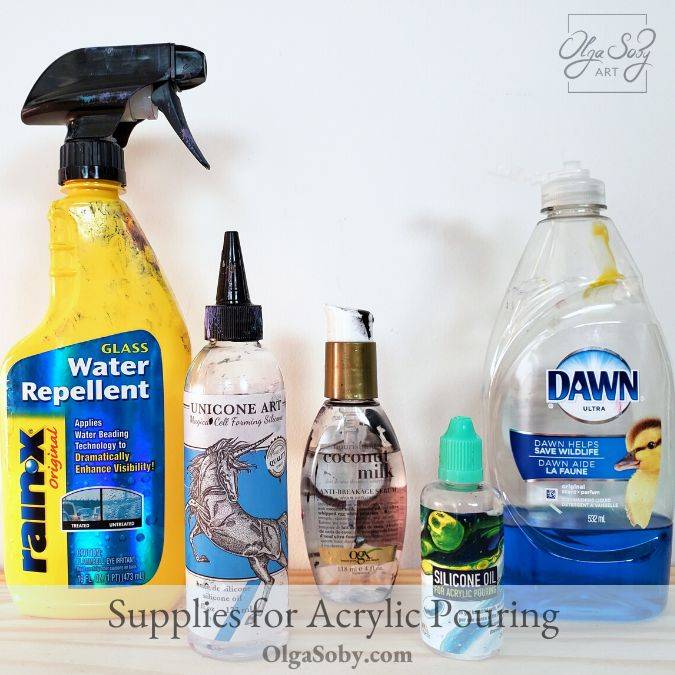
7. Silicone Oil & Other Cells Additives
VIDEO: Acrylic Pour Cells: Silicone vs Dish Soap vs Alcohol
Cells Techniques with Silicone Oil
How to Clean Silicone OFF
Cells with Australian Floetrol
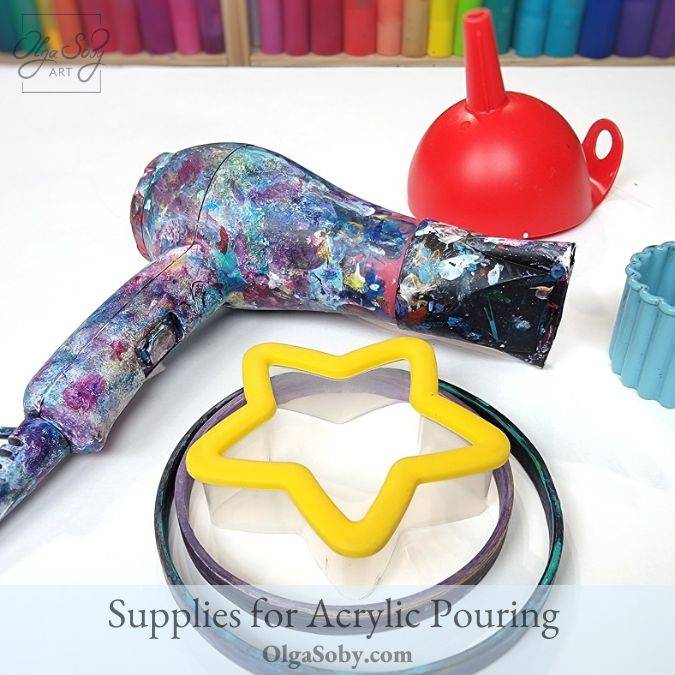
8. Pour Painting Supplies & Tools
Acrylic Pouring techniques are endless, and you can push them further by using special tools! Some of these tools are designed for artists, but most of them are meant for completely different things (household beauty, etc.) and have been adopted by artists to achieve new, unexpected effects!
One of the most popular tools is definitely a blow dryer, and you can find a lot of tutorials with it on my channel. Some others include cookie cutters, embroidery hoops, combs, toothpicks, straws, silicone funnels, and many more! Here are some fun examples:
Pouring With Blow Dryer
Pouring With Embroidery Hoops
Pouring With COOKIE Cutter
Pouring With Hair COMB
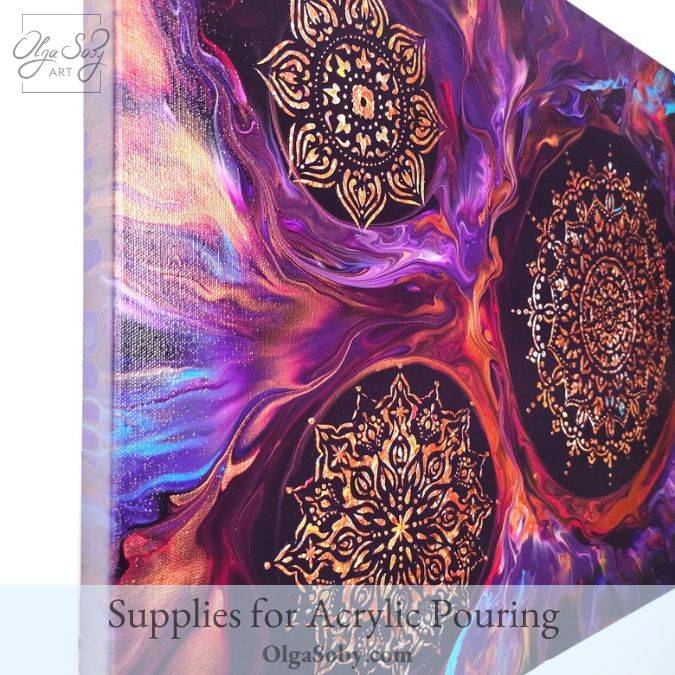
9. Embellishment
Embellishment with Stencil
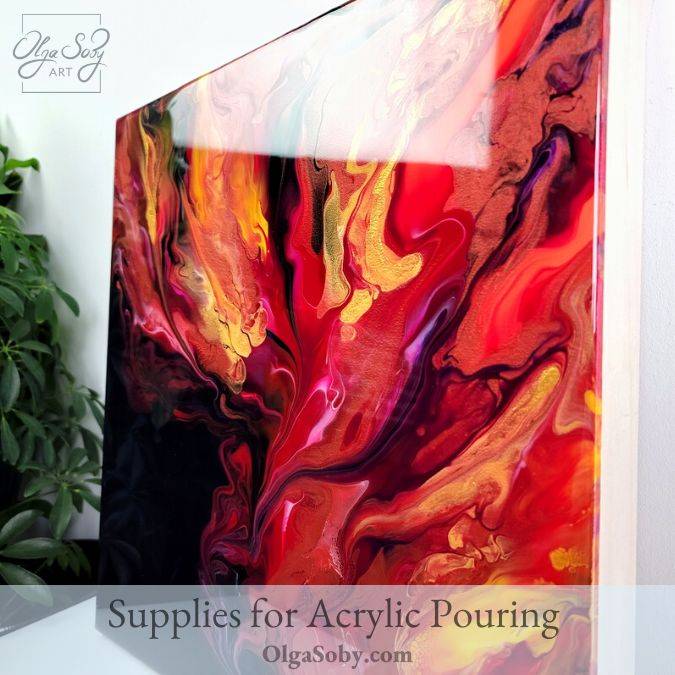
10. Finish
The painting is done! It's time to finish with the final layer. There are generally two options - varnish and epoxy resin clear coat.
Varnish is available as a spray or as a brush-on option and comes with Matte, Satin, and Glossy finish.
And, of course, my favorite is the epoxy resin finish - it's a thick, glossy, glass-like finish, I love the chic it brings to the paintings, and most of my customers and students prefer this finish as well. But the process is quite tricky and takes some skills. Therefore I have created a comprehensive online course in which I teach my entire process from A to Z, check it out:
I hope this acrylic pour painting supplies guide was helpful to you! Now have fun hunting for your new creative tools and pour painting supplies 😀
Looking for more awesome acrylic pouring supplies?
Check out my Amazon Storefront USA / CA / UK / DE you'll find even more brands and supplies I use, love, and recommend, so definitely check it out. And in this supplies guide for beginners, you'll find more details and help from me.
In conclusion, I want to say: Keep experimenting, keep exploring your unique creativeness, and enjoy every step of this journey!
Colorfully Yours,


